How to Add a Vertical Divider in Notion
Notion doesn’t let you add vertical dividers to Pages, but there is a workaround: Get a bit creative with one of the Quotes feature and you can hack together a divider that runs through the middle of the Page, or wherever else you want it to appear.
We say the Quotes feature because this adds a black border to the left of the block, so by adding the block to a column in the middle of the Page and adding some blank new lines, you can quickly create a vertical border that spans the length Page.
How to Add a Vertical Divider in Notion
Getting started is easy. Just add a Quote block, then drag it to the side of the Page you want to create a new column on. Once the new column has been create, hover over it until the width selector appears and adjust the width accordingly.
Next, add some blank rows to make the vertical divider as short or long as you want it. To do this, press Shift and Enter on the keyboard simultaneously. You can also hold them to add new lines faster. Tapping the Delete key will remove a row.
Notion Vertical Divider Template
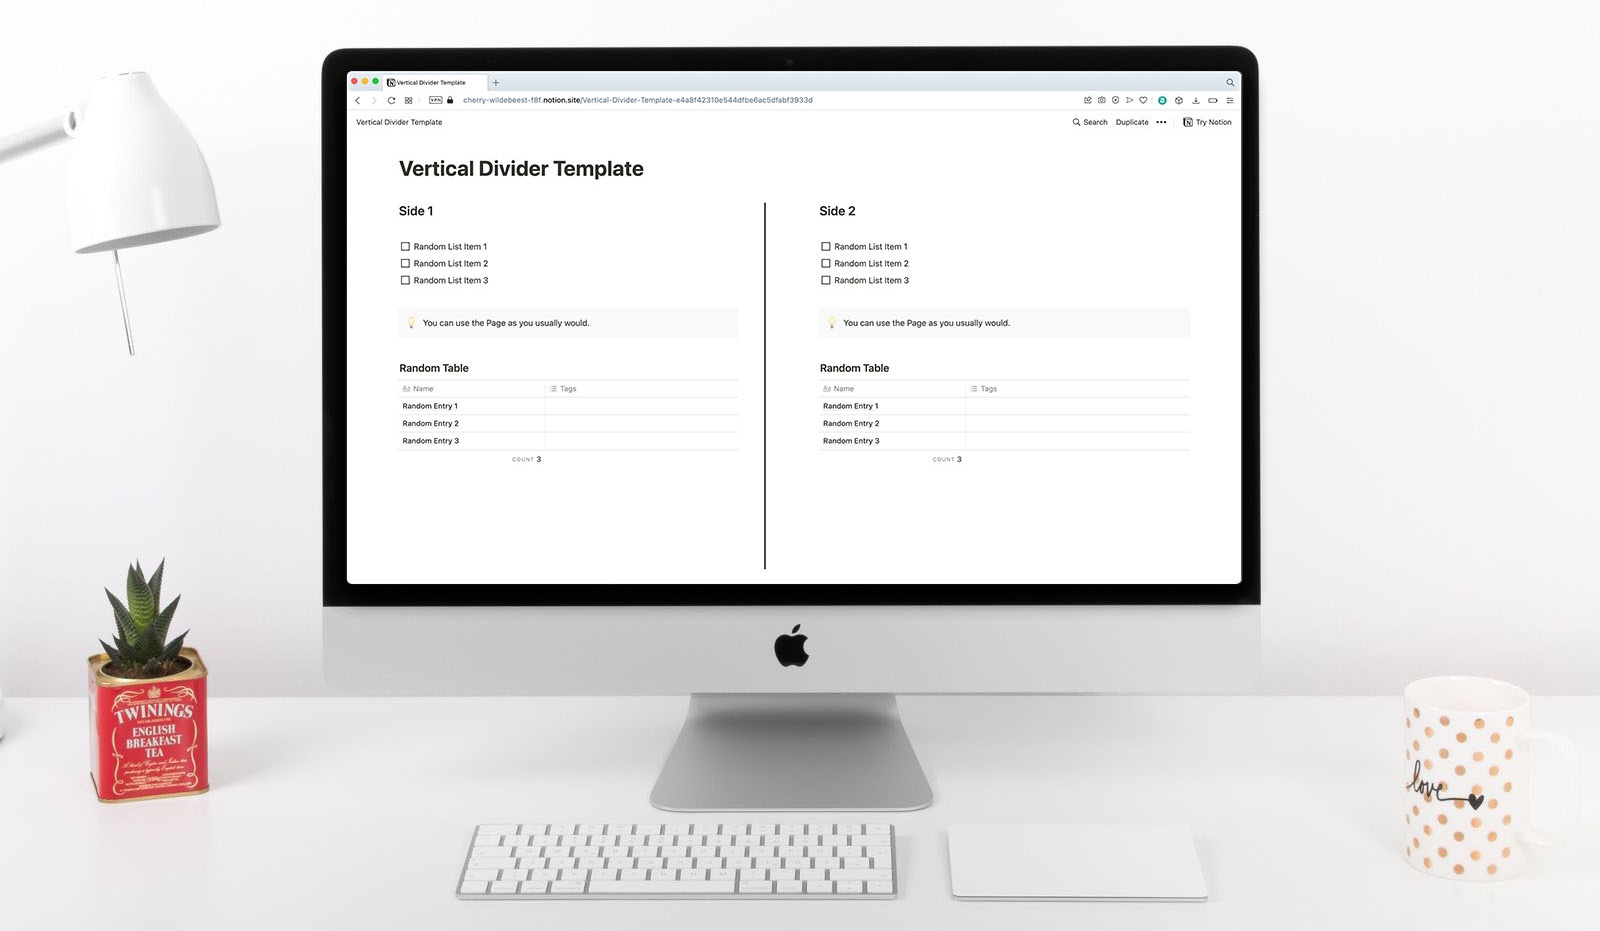
We’ve crated a Notion Vertical Divider Template to get you started so you can get a look and feel for how it’s created. Take it for a spin. Try adjusting the width of each side, and even adding a third of fourth partition. Experimenting is the best way to learn.
Don’t be afraid of breaking something. Like all Notion templates, if something does go drastically wrong you can always delete it from your Workspace, save the template again and have another try. It’s free to use — no credit card information needed.