You can add a Notion Weather Widget to any Page in a couple of clicks — and like Notion templates, there isn’t a single download involved. It’s a matter of configuring the widget using an online generator, then pasting the code into Notion.
Creating a Notion Weather Widget is completely free. There are a couple of tools that’ll let you do it, but our favorite is Indify. Here, we’ll walk you through how to create one, from start to finish, and walk you through how add it to your Workspace.
How to Create a Notion Weather Widget
The first thing you’re going to need to do is head over to Indify and create an account, then confirm your email address — or you can sign up with Google, which is our preferred method as it lets you skip the confirmation step (less work!).
Once signed in, scroll down and select Weather Widget from the Volume 1 section of the homepage, or click this link to jump straight there and start setting up your own Notion Weather Widget without having to navigate Indify.
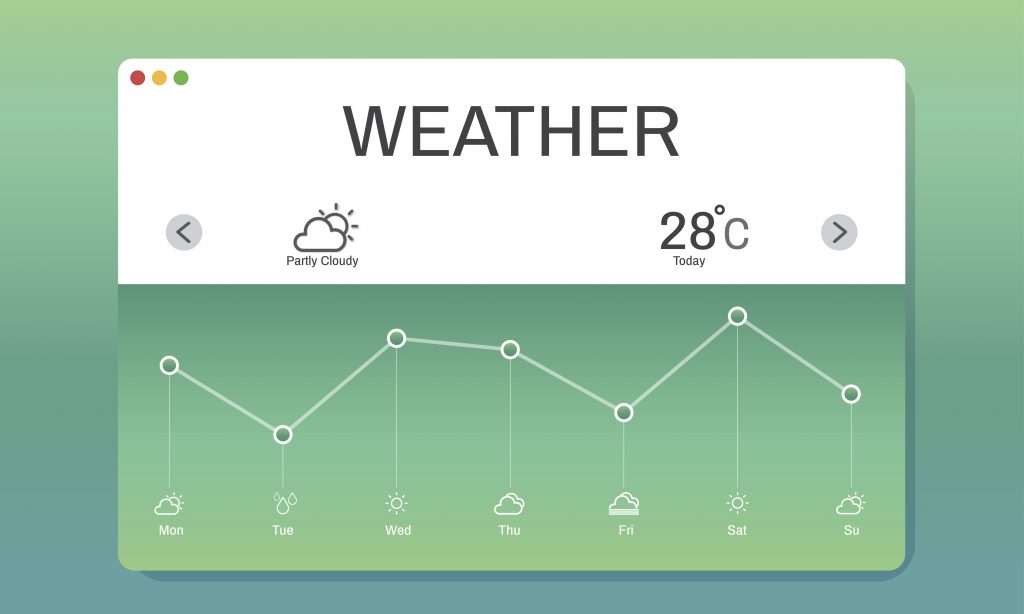
Now’s the fun bit: Use the interface in Indify to customize your Notion Weather Widget, entering the location you want the forecast for, your preferred units of measurement, and tweaking the style so its blends in with your aesthetic.

Finished customizing? Copy the URL at the bottom of the customizer in Indify and head over to your Notion Workspace, then paste it onto the Page you want it to live in Notion and select Create Embed from the menu that appears.
Your custom Notion Weather Widget should appear after a couple of seconds. You can then use the default tools in Notion to resize it and move it as you see fit. You can even create a new column on the Page and store it there.
Are There Other Notion Widgets?
We’re on a mission to outline all of the best, most useful Notion Widgets you can embed in your Workspace — and you’ll be pleased to hear the Notion Weather Widget isn’t the only one on the list. Here are some others worth exploring:
